Introduction
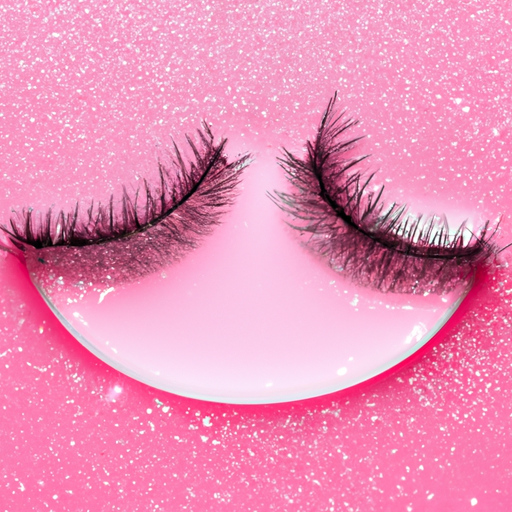
Ah, individual false lashes! I’m sure you’ve heard of ‘em, even if ya haven’t gotten around to tryin’ them yourself. If ya haven’t had the pleasure yet, let me fill ya in: individual false lashes are tiny hairs that look like they’re part of your own lashes when attached properly. They give a beautiful natural look, and more importantly can be used to create a bolder, more pronounced eye makeup look if that’s what ya like. A good set of individual false lashes will last for weeks, so it’s definitely worth learning how to apply ‘em correctly.
Preparation
When it comes to rocking individual false lashes, preparation is key. The first step to a successful application is getting your eyes ready, so you need to do some cleaning and priming. Get rid of any makeup, dirt or oil on the eyelids and lash line with a good eye makeup remover and gentle cleanser. Then apply a light layer of primer to help the glue hold better.
Once you’ve got your eyes prepped and primed, the next step is choosing the right set of lashes. Keep in mind the length, style, and color you’re going for. The size of the lashes should be proportionate to your eyes, or else you’ll end up with an unrealistic look. If you like dramatic drama, opt for longer lengths; for a subtle effect, go for shorter ones.
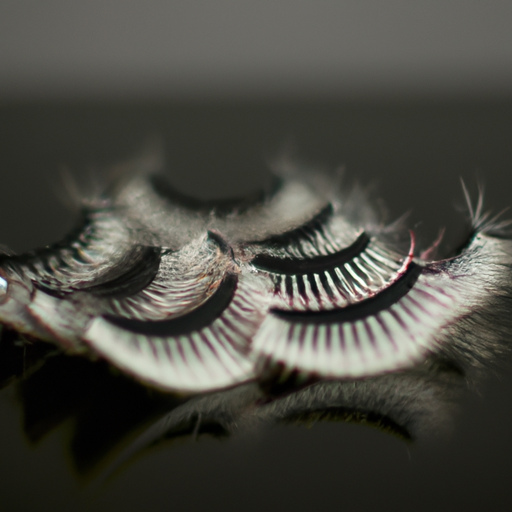
When it comes to style, there are plenty of options out there. You can get mink, synthetic, or human hair strip lashes, and even mix and match different styles and colors. For those who want a more natural appearance, lash extensions are available as well. So take your pick and choose the perfect set of individual false lashes for you!
Application
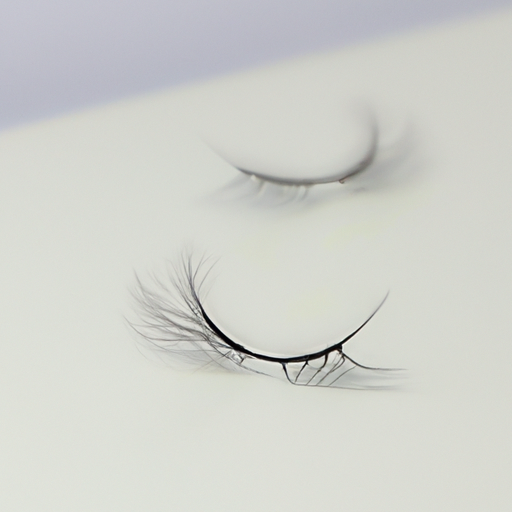
Once you’ve gotten all your materials in order and prepping you peepers is complete, it’s time to get on with the main event: applying individual false lashes! Most folks go for a thin line of glue along the length of their falsies. However, if you’re wanting extra hold, I recommend a thin line at the end of the lash band and a dot in the center of each of the individual lash clusters – like one dot for each eye-shaped cluster. That way you make sure the adhesive sets in firmly enough.
When you’re ready to lay ‘em on down, pay close attention to where the falsies are going on your top lid. Your natural lash line sits just above the root of the lash, but with individual false lashes, you want to map out where they should go relative to your existing eyelashes. Do this by lightly pressing the falsies against your top lid while looking into a mirror. This will ensure your falsies stay on tight as a drum.
Once you’ve got everything in place, go ahead and press those falsies down nice and hard to make sure they take. Then pop open your eyes wide and make sure there ain’t any gaps or anything between your real and fake luscious lashes. Once everything looks good, you’re done!
Finishing Touches
Now that your individual false lashes are in place, it’s time for the finishing touches! To really put the cherry on top of your look, add a few swipes of mascara to your individual false lashes. This will help make them stand out more, and you’ll be sure to turn heads with your bold look.
But don’t forget to combine your individual false lashes with other eye makeup. Try lining your bottom lashes with some black liner or adding a touch of eyeshadow to enhance your overall look. Just a few small steps can go a long way in giving your gorgeous eyes an extra oomph.
So, if you want to avoid looking too ‘overdone’, remember less is always more when it comes to individual false lashes. When all’s said and done, you should have beautiful, natural-looking lashes that won’t leave you ending up looking like a raccoon!
Conclusion
It’s been a wild ride, hasn’t it? Now you know the basics of applying false lashes like a pro! I want to leave you with a few tips and tricks to get the most out of your individual lashes. For starters, make sure that when you store them, they’re in a cool, dry place so they don’t get damaged. Always remember to clean your eyes before and after wearing them, as well as removing them at night to ensure they stay looking their best. Plus, it’s always key to use a little mascara to blend the false lashes into your real ones. Finally, it’s all about finding the right length, style, and color of lashes for you, because sometimes it takes a few tries to figure out what looks best.
In the end it’s worth it—individual false lashes can really take your look up a notch. So go have some fun with ’em and create some stunning looks. I’m sure you’ll be rockin’ ’em in no time!
FAQs on False Lashes
How can I make my eyelashes look bolder?
Ahh, so you want to get that bold look with individual false lashes, do ya? Don’t worry, I’ve got you covered. First of all, make sure you’re buying quality, cruelty-free lashes that are made from natural fibers. Now, when you apply them, keep in mind the type of look you want to achieve. If you want a dramatic look, go for full and fluffy lashes. For a natural, subtle look, stick with shorter and simpler styles. I also recommend curling your natural lashes and applying a coat of mascara beforehand; This will help the false lashes blend in better and also prevent them from drooping or falling off too quickly. Finally, when it comes to adhesive, use a safe, latex-free glue that won’t irritate your eyes. There you have it – with these tips, you should be able to get that bold look with individual false lashes in no time!
How do you make fake eyelashes look bigger?
When it comes to getting a bold look with individual false lashes, I always start with prepping the eye. This means properly curling and priming your natural lashes with a good mascara so they blend in with the fake ones seamlessly. Once you’ve got your base prepped, you’re ready to apply the falsies. My trick for making them appear bigger? Always use a black eyeliner to draw a line along the base of the lash band, so your natural and false lashes look like one. To further accentuate the look, I like to dot the line with some clear glitter or loose sparkle pigment. The glitter will help create the illusion of bigger lashes, without looking too over-the-top. Lastly, when it comes to mascara, I like to coat the false lashes to help them meld into the natural ones. All of this combined will make your falsies look bigger, bolder and more noticeable.
How can I make my fake eyelashes look thicker?
So, you’re looking to achieve a bold look with individual false eyelashes? Well, look no further, because I’m here to help!
First off, you’ll want to make sure your eyelashes are clean and free of any residue. Then, you’ll need to use tweezers to carefully apply one false lash at a time. This will help to create a natural look and will also make your lashes thicker.
When applying the false lashes, you want to focus on the outer corner of your eyes. This will create an elongated, cat eye look. Also, try using a thicker lash to really give your eyes that extra oomph.
Finally, don’t be afraid to experiment. You can always apply one or two more false lashes for an even bolder look. Plus, mascara can be used to further blend the false lashes with your natural lashes.
So there you have it – a few simple tips to help you get that bold look you’ve been dreaming of with individual false eyelashes!