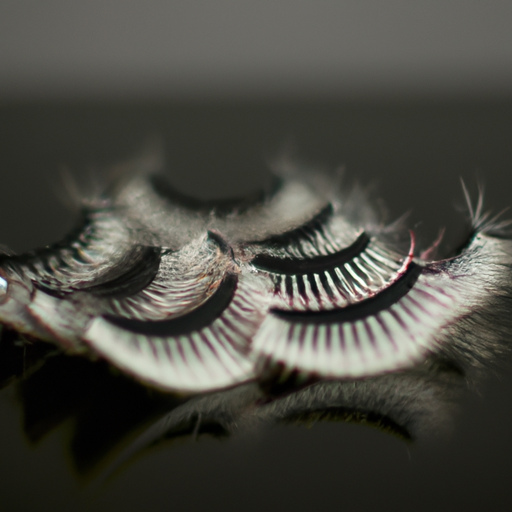
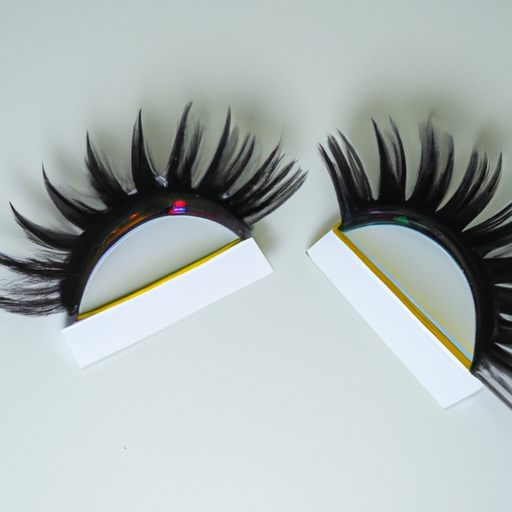
Get Ready for a Magnetic Transformation with Magnetic Lashes!
So you’ve probably heard of magnetic lashes before but have you tried them out for yourself? These innovative beauty products are taking the world of eyelash extensions by storm. If you’re looking for a hassle-free and natural-looking way to enhance your lashes, magnetic lashes will give you the fullness and length you desire without the need for messy glues and adhesives.
But what sets magnetic lashes apart from regular lashes? Well, for one, they’re much easier to apply, even for beginners. Unlike traditional falsies, magnetic lashes don’t require any special skills or tools to achieve a subtle or dramatic look. They’re also reusable and ideal for those with sensitive skin or allergies because they’re free of harsh substances such as formaldehyde and latex.
Step-by-Step Guide: How I Apply Magnetic Lashes Like a Pro!
Okay, let’s get into it! Applying magnetic lashes may seem daunting at first, but trust me when I say it’s easier than it looks. Here’s my foolproof step-by-step guide on how to apply magnetic lashes like an expert.
Step 1: Clean Your Lashes and Apply Mascara
Before applying your magnetic lashes, make sure your lashes are clean and dry. Apply a coat of mascara to give them more volume and to make it easier for the magnetic lashes to attach. I recommend using an oil-free mascara to avoid any interference with the magnetic strip.
Step 2: Apply the Bottom Magnetic Lash First
Starting at the outer corner of your eye, apply the bottom magnetic lash strip. Keep the lashes as close to your lash line as possible for a seamless blend. Hold the lash strip in place until the magnets securely clasp together.

After the bottom lash is securely in place, apply the top lash strip, starting at the outer corner of your eye and working your way inwards. Hold the strip in place until the magnets clasp together. Don’t worry about any slight adjustments you may need to make, as you can easily adjust the lashes while the magnets are not clamped together.
Step 4: Ensure Proper Placement
After both lash strips are in place, make sure they are sitting evenly on top of each other, with no gaps or visible edges. Use a lash comb to gently brush through the lashes, lightly pressing them together for a more natural look.
Step 5: Finishing Touches
Lastly, apply a touch of mascara to your natural lashes to blend them seamlessly with the magnetic lashes. You can also use an eyelash curler to get the perfect blend between your natural lashes and the magnetic lashes.
There you have it, folks! My step-by-step guide to applying magnetic lashes like a pro. It may take some getting used to, but once you get the hang of it, magnetic lashes will be your new go-to for any occasion.
Tips and Tricks: Because Applying Magnetic Lashes Can be Tricky!
Hey y’all! So, you wanna look fabulous and decided to try magnetic lashes, huh? Good choice! These babies can give you that alluring, doe-eyed look in seconds. But hold your horses, there’s a little bit of finesse involved in getting these bad boys on. Here are some tips and tricks to help you out:
Choosing the Right Length of Magnetic Lashes
One of the key things to remember when looking for the perfect magnetic lashes is to choose the right length for your eyes. You want to avoid exaggerated eyelashes that are too long, as they will overpower your eyes and make them look droopy. On the other hand, lashes that are too short may not make the impact you’re looking for. So, consider the shape and size of your eyes and choose magnetic lashes that are proportionate to your natural lashes.
Advantages of Using Magnetic Lashes
Magnetic lashes have many advantages over regular lashes. For one thing, they are easy to apply and remove on your own, so you don’t need to spend extra money on salon appointments. They also don’t require messy glue, which can cause irritation and damage to your natural lashes. Magnetic lashes are reusable, so you can save money in the long run by investing in a quality pair. Overall, magnetic lashes are a convenient, affordable, and safe alternative to traditional eyelash extensions.
Avoiding Common Mistakes When Applying Magnetic Lashes
One of the most common mistakes people make when applying magnetic lashes is not trimming them to fit their eye shape. It’s essential to measure, cut, and adjust the length of your magnetic lashes to fit your eye precisely. Another mistake is not aligning the magnets correctly. Be sure to place the top magnetic strip on top of your natural lashes and the bottom one underneath to ensure a secure hold. Additionally, make sure you’ve coated your natural lashes with mascara before applying magnetic lashes, this will give a better hold for the magnets.
Looking for more tips and tricks to enhance your lashes? Check out EyelashExtensionsColoradoSpringsCo for expert advice on finding the perfect fake lashes for you.
Wrapping It Up: Summary of What We Covered
To sum it up, magnetic lashes are a game-changing beauty product that can save you time, money, and frustration. In this guide, we have covered the benefits of magnetic lashes over traditional ones, as well as provided you with a step-by-step guide on how to apply them like an expert. We also gave you some tips and tricks for choosing the right lashes, avoiding common mistakes, and showcasing what makes magnetic lashes an advantageous beauty option. Remember, when it comes to magnetic lashes, practice makes perfect. Don’t get discouraged if you struggle with the application the first few times. With a little patience and persistence, soon enough, you will master the technique and start enjoying the benefits of magnetic lashes. Overall, magnetic lashes are an affordable and innovative way to enhance your beauty routine, and once you try them, you may never go back to the traditional way of applying lashes. So, why not give them a shot? We guarantee you won’t be disappointed.


