When it comes to elevating your makeup look, mascara can be the icing on the cake. Mascara has the power to instantly make your eyes pop by adding volume, length, and definition to your lashes. But let’s be honest, sometimes achieving that perfect lash look can feel like an uphill battle. Fear not, my fellow mascara enthusiasts! With the right tips and tricks – and a touch of practice – you can transform yourself into a mascara pro in no time. Buckle up and get ready for a deep dive into the world of mascara mastery.
table of contents
- What is the best way to curl lashes before applying mascara?
- How to avoid clumps when applying mascara?
- What type of mascara brush works best for lengthening lashes?
- Extra Tips and Tricks for Mascara Perfection
What is the best way to curl lashes before applying mascara?
The first step in perfecting your mascara game is to curl your lashes like a seasoned pro. Surprisingly, not all lash curlers are created equal, so choose one that fits the shape of your eyes. Don’t be coy; explore different options – the world of eyelash curlers is your oyster, after all. To avoid the dreaded “L”-shaped lash (cue horror movie music), follow these easy steps:
- Ensure your lashes are clean and free of any residual makeup. A blank canvas is essential for success.
- Place the lash curler at the base of your upper lashes, ensuring the curler is snug against the eyelid. You want to hug those lashes like a long-lost best friend.
- Gently squeeze the curler, holding it in place for a few seconds (around 7-10 seconds should suffice).
- Moving out from the base, repeat the process mid-lash and finally near the tips. With a precision resembling the skilled hands of an origami master, you’re aiming for a smooth, C-shaped curve.
How to avoid clumps when applying mascara?
There’s nothing worse than the clump curse plaguing your lash look. To squash your fears (*clump-busting powers activate*), follow these tips:
- First, extract the wand from the mascara tube without pumping it. Pumping the wand can introduce air, turning your favorite mascara drier than the Sahara Desert.
- Place the wand at the base of your upper lashes and wiggle it back and forth to coat the base. Do not – I repeat, do not – move the wand up and down, as this can make your lashes zigzag like a nightmarish rollercoaster ride.
- Patiently brush upwards in a slow, fluid motion, coating every beautiful lash from root to tip. Rome wasn’t built in a day, and neither is the perfect lash look.
- Use a lash comb to gently separate any remaining clumps post-mascara application.
- Apply mascara with the same care to your bottom lashes. A true pro knows that bottom lashes deserve their moment in the spotlight.
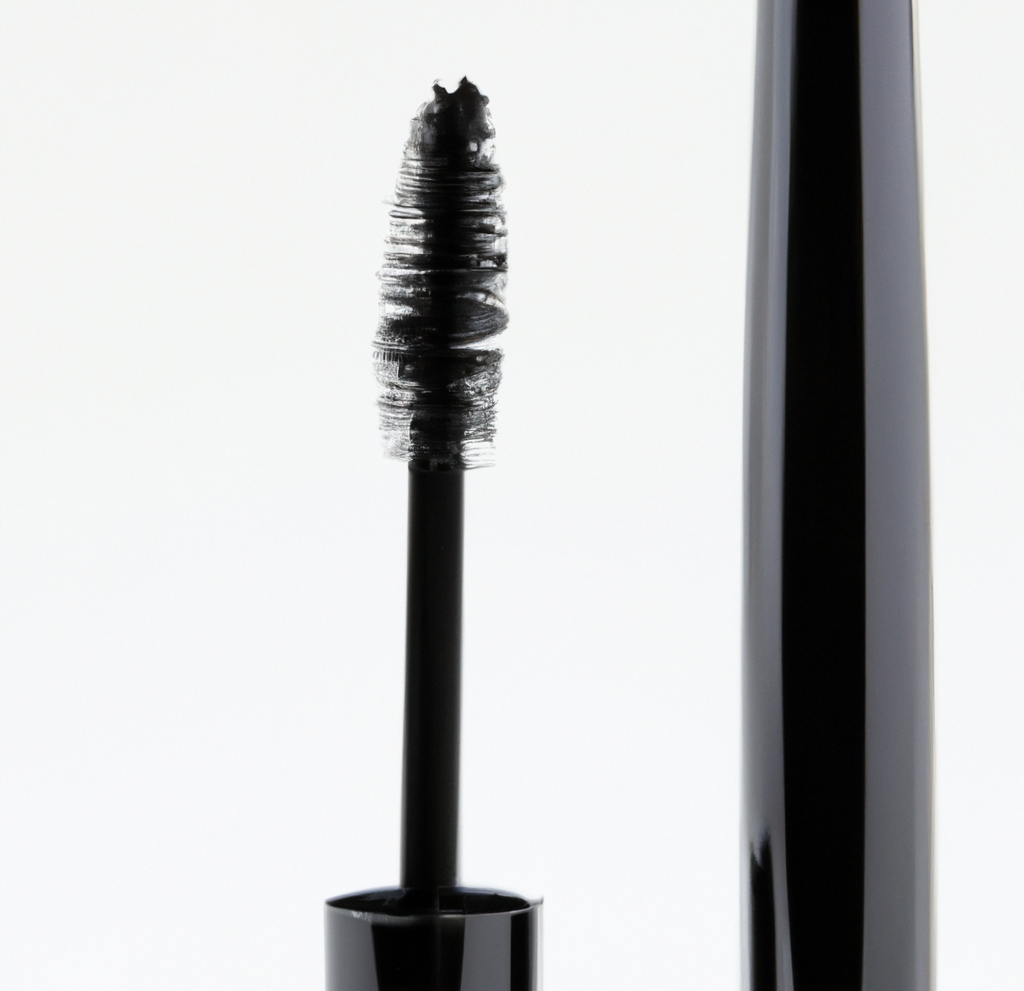
What type of mascara brush works best for lengthening lashes?
In the magical world of mascara, there’s a multitude of mascara brushes vying for your attention. When it comes to wand selection, remember the following mantra: longer bristles, longer lashes. So, let’s talk about the ideal mascara brush for length:
- Look for a wand with dense, long, and evenly spaced bristles. Similar to how Rapunzel climbed her way to freedom through her lengthy locks, these bristles will latch onto (and lift!) every lash, even the tiny rebels.
- Find a brush with a tapered tip. Accurate application is a breeze, and you’ll be able to reach the inner and outer corners of your eyes effortlessly. Lashes everywhere will rejoice.
- Consider experimenting with a curved brush. Angled to follow the natural curvature of your lashes, this brush is a game-changer for length and definition.
Remember, the secret to unlocking the full potential of any mascara lies in the hands of the wielder, so practice until you’re confident enough to claim the title of “mascara maestro.”
Extra Tips and Tricks for Mascara Perfection
Now that we’ve tackled curling, clump avoidance, and brush selection, here are some tips to elevate your mascara game:
- Apply mascara to both sides of your lashes for maximum volume. This technique requires the steady hand of a surgeon, but practice makes perfect.
- Don’t be afraid to layer – mix and match mascaras for a custom combination of volume, length, and definition.
- Invest in a high-quality lash primer – like a painter prepping their canvas, a primer sets the stage for your mascara masterpiece.
- Use a waterproof topcoat to seal the deal (literally) and protect your handy work from rain, sweat and tears of joy.
Armed with these tips and tricks, you’re well on your way to becoming a mascara pro. Remember, practice makes perfect, so don’t be afraid to flex those lash muscles and experiment with different techniques. In no time, you’ll have the world at your mascara-wielding fingertips!