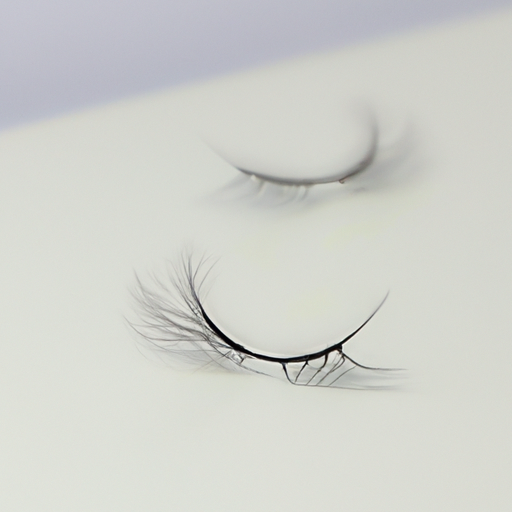
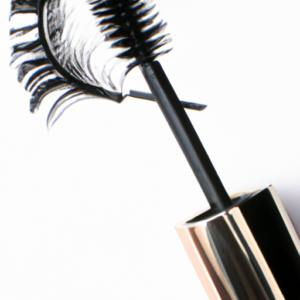
There’s nothing quite like brushing on a few coats of mascara to give your upper lashes that extra oomph! Whether you’re prepping for a big night out or just wanting an everyday boost, applying mascara to your top lashes is an easy and stunning way to amplify your look. From choosing the right mascara to capitalizing on its defining powers, there are lots of tips and tricks to maximize this beauty product.
First things first, pickin’ the right mascara is key. What kind of effect you’re going for will determine which brushes, formulas and applicators you’ll need. If you wanna create a dramatic look, experiment with different types of wands and formulas to reach new levels of volume and lift. For subtlety, opt for something more lightweight and natural-looking.
Once you’ve got your supplies ready, it’s time to get your lashes in shape. Gently brush them from root to tip to remove any knotty bits, then curl ’em up with a lash curler to prime the area! Now you’re ready to apply the mascara itself.
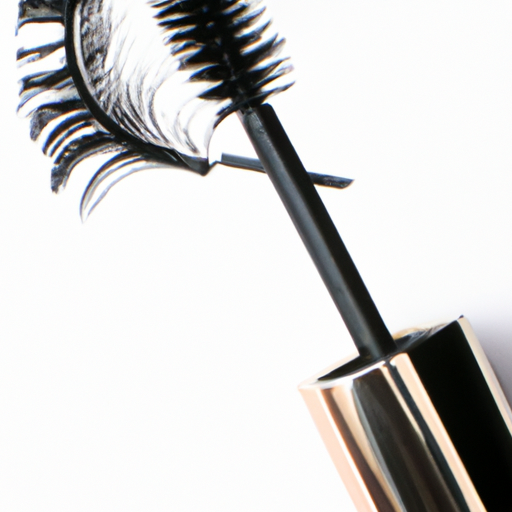
Starting at the base of your lashes, slowly drag the mascara wand upward towards the tips. It’s important to be slow and consistent—kinda like you would be painting a thin line. Practicing this technique will also help make sure no lumps or clumps form near the roots.
Afterwards, you can do some light wiggling with the wand as you move along to really separate the lashes and bring out definition. And don’t skimp on those inner corners, they deserve love too! Once you’ve covered all your lashes, use an eyelash comb to brush away any excess product.
Finally, if you’re going for an even more glamorous look, add a second coat of mascara, fanning it outward and upwards! This will help build fullness and length. Just make sure you let the first coat dry first, otherwise you might wind up with clumps or smears.
Preparing to Apply Mascara
Before you go ahead and mask those luscious lashes, you gotta make sure you’re doing it right. Pick the right mascara that’ll bring out your best upper lash look. Then, get them prepped up! Clean off any residue left over from previous makeup or dirt. This is gonna help the mascara stick and glide on much more smoothly.
Pro-tip here: use a spoolie brush (those tiny mascara-like brushes) to help prep your lashes. Comb through ’em, wiggling the brush against the lash roots. This helps separate ’em out so you can get a precise application of mascara.
Applying Mascara to Upper Lashes
Mascara application can seem tricky at first, but once you get the basics down, it’s surprisingly simple. Start by selecting a mascara that works with your upper lashes – don’t just grab any ol’ tube. Taking the time to select a mascara made for your needs will give you the best end result.
Before applying mascara, make sure your upper lashes are in top shape: clean, clump-free, and prepped! You’ll have so much more success if you focus on smoothing out and preparing your upper lashes before diving into mascara application.
Once you’ve got everything ready, you can begin at the root of the lash. Make sure your mascara brush is coated, then gently wiggle it through the base of the lashes. Don’t be afraid to get a little close to your skin; anything too far away won’t do much. Then, wrap the brush around each lash and zig zag from root to tip. Separating and defining your lashes is key and using this technique helps ensure you get that “full-lash” effect.
Finally, as a finishing touch, use the brush to remove clumps and smooth out any messy bits. Depending on what look you’re going for, you might want to add one or two additional coats. And there ya go – you’ve got lashes for days.
Finishing Touches
Once you’ve applied your mascara to your upper lashes, it’s time to give them the perfect finish. You don’t want too many clumps or your lashes won’t look natural! Here are a few simple tricks I use to make sure my lashes are looking fresh and fabulous.
First and foremost, I like to use an eyelash comb to separate any clumps of mascara. Just keep combing through your lashes until they look smooth and evenly covered in mascara. Now you can let your brush do the talking and wiggle it from the base of your lashes working your way up, just to make sure all those little ones are getting their fair share of mascara.
And if one coat of mascara isn’t enough for you, don’t be afraid to add another. This is one of the most important finishing touches; the more coats you apply, the fuller and thicker your lashes will appear. So go ahead and apply as much mascara to your upper lashes as suits your fancy.
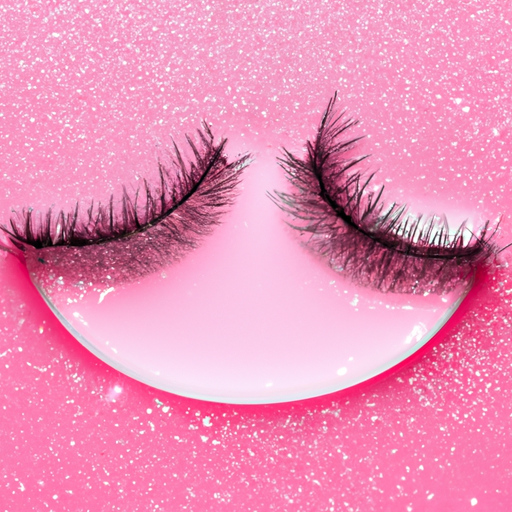
Mascara is great for adding volume and definition to your upper lashes and I’m all about emphasising your natural beauty. With these tips I can guarantee you’ll have enviable eyelashes every single day.
Conclusion
Whew! We’ve made it! Now you are ready to rock those upper lashes with confidence – and you can say goodbye to the days of clumpy, uneven mascara application. Here’s a quick recap of the tips and tricks I shared with you in this article:
First, make sure you choose the right mascara for your upper lashes. Waterproof formulas tend to work best for those hard-to-reach areas. Once you’ve selected your product, prep your lashes by curling them or using a primer. Then, start at the roots when applying the mascara and wiggle the brush through your lashes. This will help you separate and define each lash. Finally, remove any clumps and add additional coats if desired.
It takes a little bit of practice, but I guarantee you that with these tips and a high-quality mascara, you’ll be amazed at how beautiful your lashes look.
Mascara Application FAQ
Are you supposed to put mascara on the top of your lashes?
Sure, you can put mascara on the top of your lashes! It’s a great way to add a little extra definition to your eyes.
Start by curling your upper lashes first. This will help lift your lashes, making it easier to apply the mascara. Then take an eyelash comb, and comb through your lashes to separate them.
Next, grab your mascara and start at the base of your lashes. Wiggle the wand lightly as you pull it up through your lashes, and apply a light, even coat. This technique helps ensure that all of your lashes are coated with mascara.
Finally, use a lash brush (or a small spoolie brush) to brush through the top of your lashes. This will help define and separate them, leaving you with lush and voluminous lashes!
And there you have it: your guide to applying mascara to the top of your lashes! Keep in mind that practice makes perfect, so take your time and you’ll achieve beautiful results.
Do you put mascara on top or bottom first?
Well, l want ya to know the truth about puttin’ mascara on those upper lashes. It ain’t hard at all. Anyone can do it if they just follow some simple steps. So here ya go:
First off, you wanna make sure your mascara is nice and fresh. Apply a thin coat of it on the bottom lashes first. This helps set the tone of the look, and it’s a crucial step. Then, using a gentle zig-zag motion, sweep the mascara wand up the top lashes, making sure to reach the very roots of the lashes. Make sure you’re applying enough mascara to coat each lash, but not too much that they clump together.
Another tip is to go back in with a pencil brush after ya finish coatin’ the lashes. This’ll help combat any clumps that may have formed during the application process, and it’ll also help define and separate the lashes. Finally, give them a few strokes of a spoolie for a nice, fluttery finish.
So there ya have it. Applying mascara to upper lashes ain’t hard at all. Just follow the steps above, and you’ll be batting those beauties in no time. Good luck!
How do you apply mascara to upper and lower eyelashes?
Well, when it comes to applying mascara to upper and lower lashes, I’m something of an expert. You don’t want to overdo it, or you’ll end up looking like a raccoon. Here’s my advice: Start at the base of your upper lashes and wiggle the wand up towards the tips. That’ll coat the lashes from root to tip, giving you a full and beautiful look. To get your lower lashes, you’ll have to be a bit more careful. Start at the base of your lashes and work in small strokes, making sure not to get too much on your skin. And, don’t forget to blink to coat the tips of your lower lashes! In no time at all, you’ll be rocking a fluttery, fabulous look.